 Save
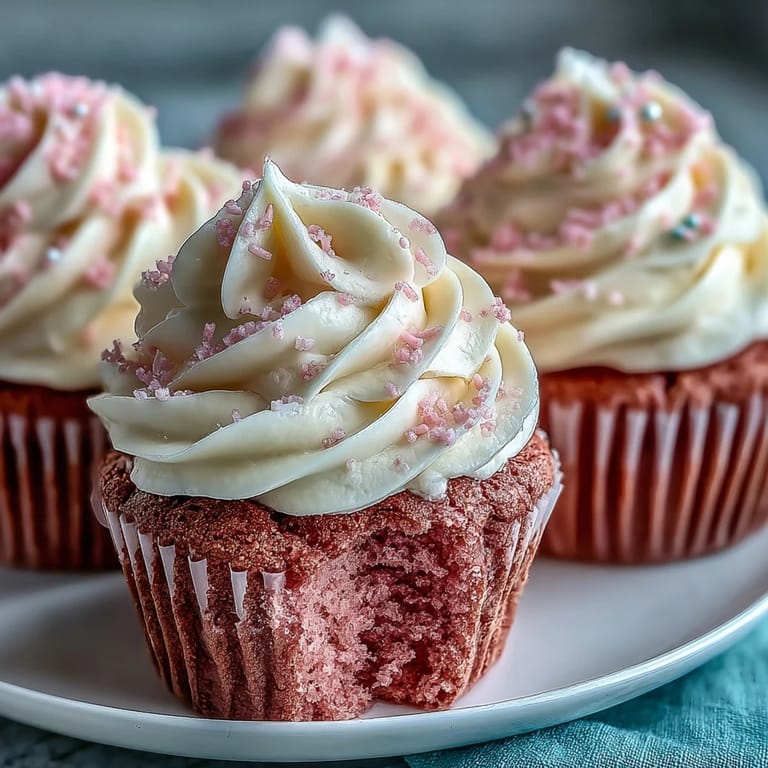
Save My neighbor knocked on my door one Saturday morning holding a mixing bowl and a tiny bottle of pink gel coloring, asking if I could help her figure out why her cupcakes always turned out dense. We spent the next hour in my kitchen, sifting flour twice, talking about room-temperature butter, and watching those little paper cups rise into the softest, blush-colored domes I'd ever seen. She left with a dozen cupcakes and I left with a new favorite recipe. Sometimes the best dishes come from unexpected collaborations.
I made these for my daughter's spring recital, and she insisted on helping me pipe the frosting. We ended up with lopsided swirls and buttercream on the countertop, but when her friends saw those pink cupcakes on the dessert table, they vanished in minutes. One mom asked for the recipe three times before the event even ended. It reminded me that imperfect presentation doesn't matter when something tastes this good.
Ingredients
- Cake flour: This fine flour creates a delicate crumb that regular all-purpose can't quite match, but the cornstarch trick works beautifully if that's what you have on hand.
- Baking powder and baking soda: The duo gives you both lift and tenderness, and the soda reacts with the buttermilk and vinegar to keep everything airy.
- Unsalted butter: Room temperature is non-negotiable here, it needs to whip up light and fluffy with the sugar or your cupcakes will be dense.
- Granulated sugar: Creaming it with butter is where the magic starts, creating tiny air pockets that make these cupcakes so soft.
- Egg: One large egg at room temperature blends in smoothly and adds structure without making the batter heavy.
- Buttermilk: The slight tang balances all that sweetness and keeps the cupcakes moist for days, plus it activates the leavening agents.
- Pure vanilla extract: Don't skimp on this, real vanilla makes the whole cupcake smell like a bakery.
- White vinegar: Just a teaspoon works with the baking soda to create a tender crumb and helps the pink color stay bright.
- Pink gel food coloring: Gel is better than liquid because it won't thin out your batter, and you can add it drop by drop until you get the exact shade you want.
- Powdered sugar: Sifting it prevents lumps in your frosting and gives you that silky smooth texture everyone loves.
- Heavy cream: A couple tablespoons loosens the buttercream just enough to make it pipeable but still stable.
Tired of Takeout? 🥡
Get 10 meals you can make faster than delivery arrives. Seriously.
One email. No spam. Unsubscribe anytime.
Instructions
- Prep Your Pan:
- Preheat your oven to 350°F and line your muffin tin with paper liners. This is the moment to double-check your oven temperature with a thermometer if you have one, because even ten degrees off can affect how these bake.
- Combine the Dry Ingredients:
- Sift the cake flour, baking powder, baking soda, and salt into a medium bowl, then give it a good whisk. Sifting twice makes a real difference in how light these cupcakes turn out.
- Cream Butter and Sugar:
- Beat the room-temperature butter for about a minute until it's smooth, then add the sugar gradually and keep beating for 2 to 3 minutes. You'll know it's ready when the mixture looks pale and fluffy, almost like whipped cream.
- Add the Egg and Vanilla:
- Lightly beat your egg in a small bowl first, then add it slowly to the butter mixture on low speed. Blend in the vanilla extract and scrape down the sides of the bowl so everything is evenly mixed.
- Alternate Wet and Dry:
- With the mixer on low, add one-third of the dry ingredients, then half the buttermilk, then another third of dry, the rest of the buttermilk, and finish with the last of the dry mix. Stop mixing as soon as you don't see streaks of flour, overmixing will make them tough.
- Tint the Batter:
- Stir the white vinegar and pink gel coloring together in a small cup, then pour it into the batter and mix on low just until the color is even. The vinegar smell will disappear completely in the oven.
- Fill and Bake:
- Divide the batter evenly among the liners, filling each about two-thirds full, then tap the pan gently on the counter to pop any air bubbles. Bake for 18 to 22 minutes, checking with a toothpick at the 18-minute mark.
- Cool Completely:
- Let the cupcakes rest in the pan for 5 minutes, then move them to a wire rack. If you frost them while they're even slightly warm, the buttercream will melt and slide right off.
- Make the Buttercream:
- Beat the butter until creamy, then add powdered sugar gradually on low speed to avoid a sugar cloud in your kitchen. Once it's all incorporated, add the vanilla, cream, and salt, then beat on medium-high for 1 to 2 minutes until it's fluffy and light.
- Frost and Decorate:
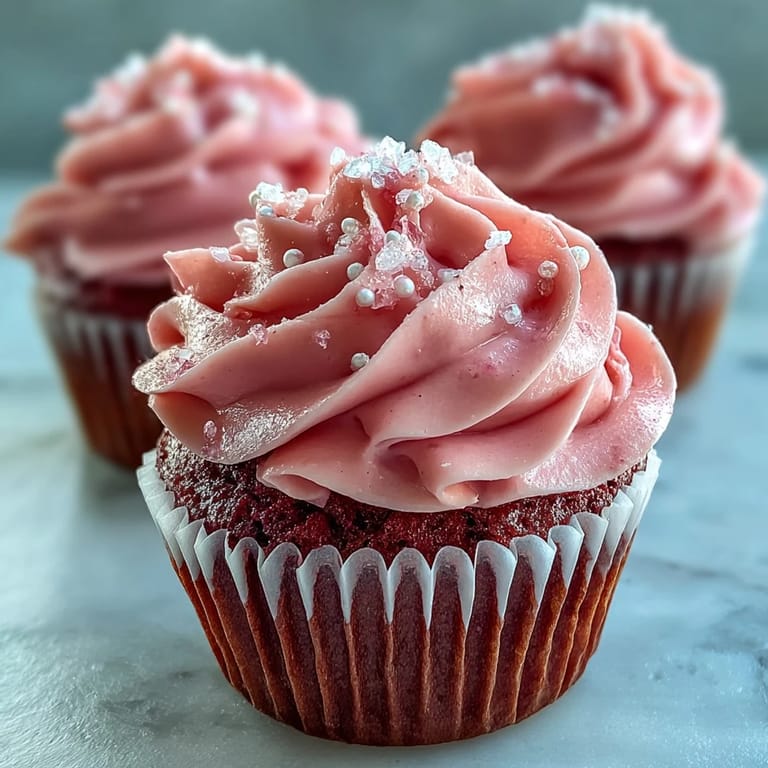
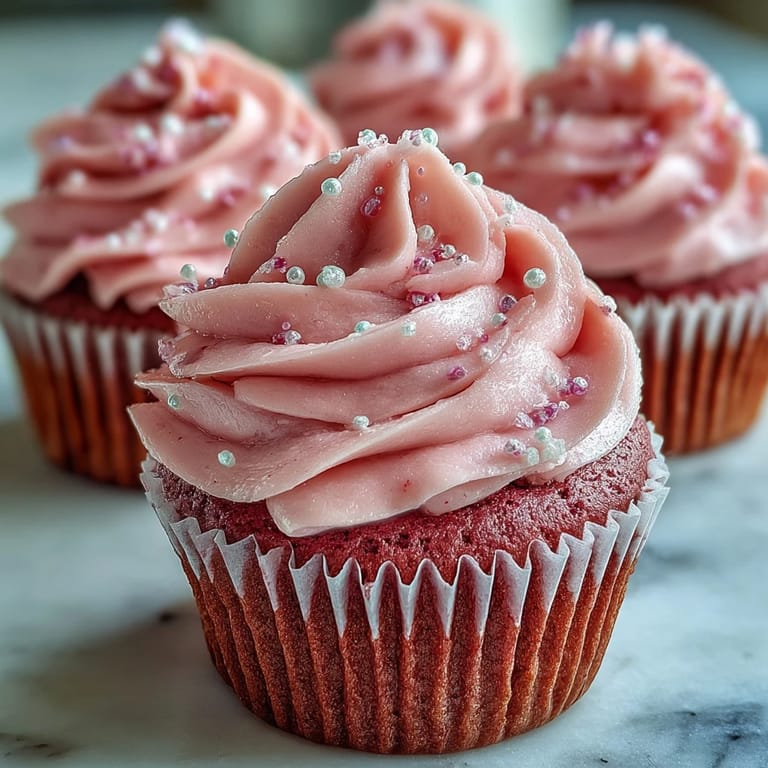
- Transfer the buttercream to a piping bag or use an offset spatula to swirl it onto each cupcake. Finish with sprinkles, edible pearls, or pink sanding sugar if you want a little extra sparkle.
 Save
Save The best part about these cupcakes is how they make people smile before they even take a bite. My coworker once told me she saved one in her desk drawer for three days because she didn't want the moment to end, and when she finally ate it, she said it was still soft and perfect. That's when I realized this recipe wasn't just about sugar and flour, it was about creating a little pocket of joy that lasts.
How to Store Them
I keep frosted cupcakes in an airtight container at cool room temperature for up to two days, and they stay incredibly moist. If your kitchen is warm, you can refrigerate them, but let them sit out for about 20 minutes before serving so the buttercream softens up again. Unfrosted cupcakes can be wrapped tightly and frozen for up to a month, then thawed on the counter and frosted fresh when you're ready.
Flavor Variations to Try
Once you've made the classic version, try adding a tablespoon of raspberry puree to the batter for a subtle fruity twist, or swap the vanilla extract for almond extract if you want something a little more sophisticated. I've also folded in mini white chocolate chips before baking, and the little pockets of melted chocolate were a huge hit. You can even make the frosting chocolate by adding a quarter cup of cocoa powder and an extra tablespoon of cream.
Common Mistakes and How to Avoid Them
The biggest mistake I see people make is overfilling the liners, which causes the batter to spill over and bake unevenly. Two-thirds full is the sweet spot. Another issue is not measuring flour correctly, if you scoop directly from the bag, you pack in too much and end up with dry cupcakes, so spoon it into your measuring cup and level it off. Finally, don't skip the cooling step, I once tried to frost them warm and ended up with a melted mess that I had to scrape off and start over.
- Always bring your eggs and buttermilk to room temperature, or they'll curdle the butter and ruin the texture.
- Use gel food coloring instead of liquid to keep the batter consistency perfect and the color vibrant.
- Invest in an oven thermometer because most home ovens run hotter or cooler than the dial says.
 Save
Save These cupcakes have become my go-to whenever I need to bring something special, and I love that they're approachable enough for beginners but impressive enough to wow a crowd. Keep a batch in your freezer and you'll always be ready for celebrations.
Cooking Q&A
- → What makes these cupcakes pink?
Pink gel food coloring creates the signature blush hue. For a natural alternative, swap the gel coloring for beet powder—start with ½ teaspoon and adjust to achieve your desired shade.
- → Can I make these cupcakes ahead of time?
Bake the cupcakes up to 24 hours in advance. Store unfrosted cupcakes in an airtight container at room temperature. Frost just before serving for the freshest presentation and texture.
- → Why is vinegar added to the batter?
White vinegar activates the baking soda, creating extra lift for that light, airy velvet texture. It also enhances the pink color from the food coloring and adds a subtle tang that balances the sweetness.
- → How do I store frosted cupcakes?
Keep frosted cupcakes in an airtight container at cool room temperature for up to 2 days. Avoid refrigeration, which can dry out the crumb and make the buttercream hard. If storing longer, freeze unfrosted cupcakes for up to 3 months.
- → Can I use all-purpose flour instead of cake flour?
Absolutely. Substitute 1¼ cups all-purpose flour sifted with 2 tablespoons cornstarch. This mimics the lower protein content of cake flour, yielding equally tender results.