 Save
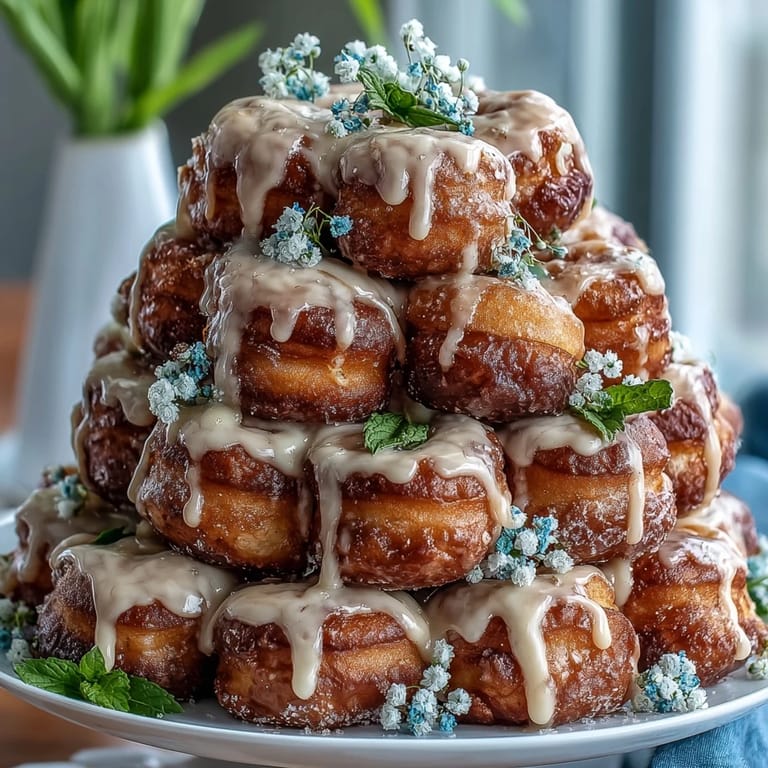
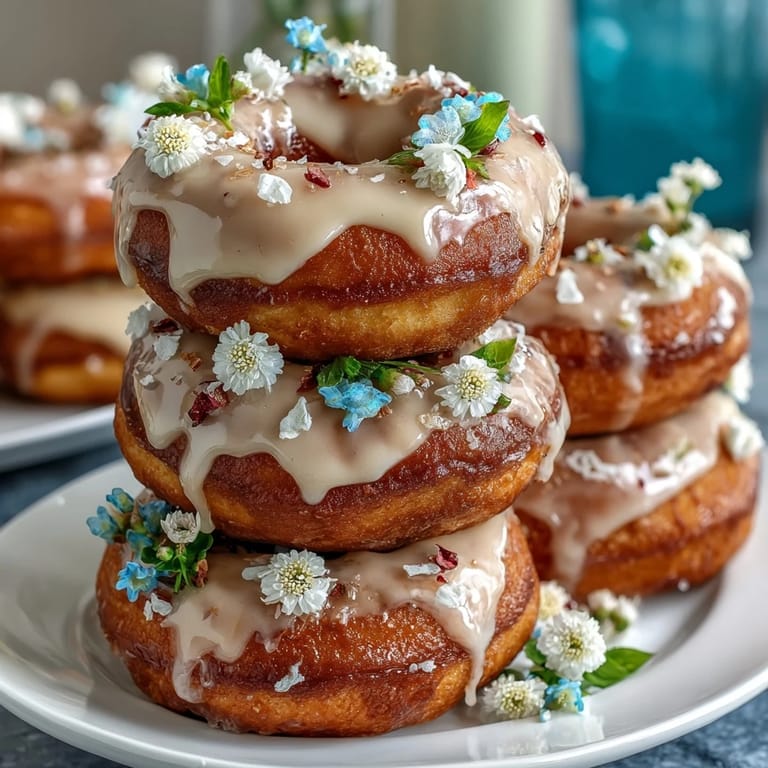
Save My sister texted me a photo of a donut tower she'd seen at a bridal shower, and I knew immediately I had to recreate it for her baby shower the following month. The image showed this whimsical spiral of glazed mini donuts studded with delicate flowers, and honestly, it looked like something between a dessert and a piece of edible art. I spent an afternoon experimenting with different arrangements, learning that patience and a good foam cone are your best friends, and that edible flowers transform something simple into something genuinely magical.
Watching my mom's face light up when she saw the tower at the shower still gets me—she kept saying it was too pretty to eat, then immediately grabbed one anyway. That moment when something handmade bridges the gap between decoration and dessert is exactly why I keep coming back to this recipe.
Ingredients
- Mini Donuts: Grab 36–40 of them in whatever flavors call to you—plain, glazed, chocolate, even cake donuts work beautifully because the variety adds visual interest and keeps people surprised with each bite.
- Powdered Sugar: About 1 cup mixed with 2–3 tablespoons milk or water and a splash of vanilla creates a glaze that's thin enough to dip but thick enough to cling.
- Food Coloring: Optional, but pastel shades feel right for this delicate dessert—I lean toward soft pinks, lavenders, and mint greens.
- Sprinkles: A quarter cup of rainbow or pastel sprinkles adds a playful touch while the glaze is still wet.
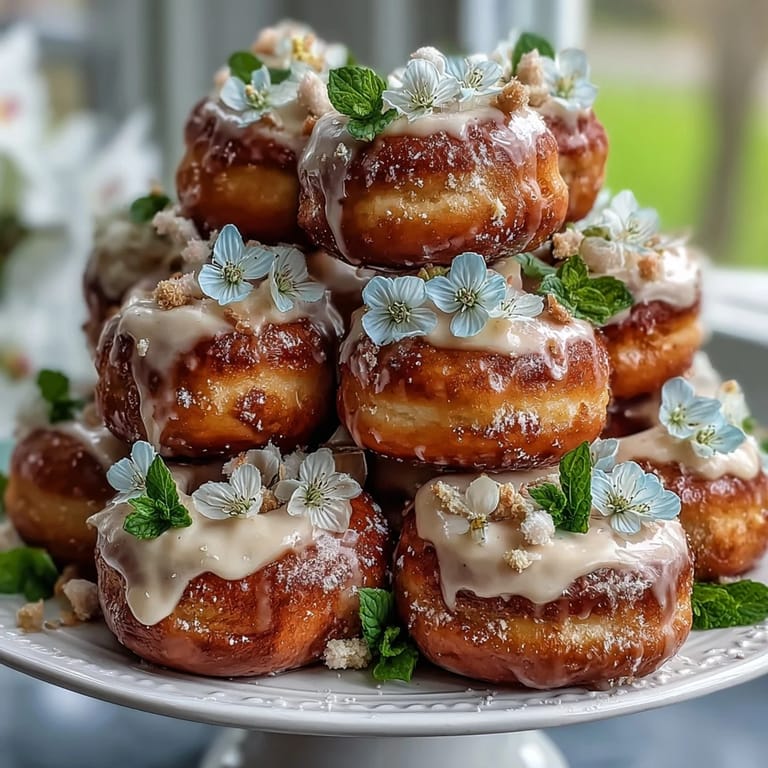
- Edible Flowers: This is where magic happens—violets, pansies, nasturtiums, and marigolds aren't just pretty, they're actually edible and add an unexpected floral note.
- Foam Cone or Tiered Stand: A 10–12 inch foam cone is easiest for beginners, though a traditional cake stand creates a different aesthetic entirely.
- Toothpicks or Wooden Skewers: These hold everything together and make the whole assembly feel less chaotic than it sounds.
Tired of Takeout? 🥡
Get 10 meals you can make faster than delivery arrives. Seriously.
One email. No spam. Unsubscribe anytime.
Instructions
- Mix Your Glaze:
- Whisk powdered sugar with milk until it's pourable but still coats the back of a spoon—add food coloring drop by drop so you don't end up with something too dark. Let it sit for a minute; it should feel like the glaze wants to hug each donut.
- Glaze and Decorate:
- Dip each mini donut into the glaze, let excess drip off for a second, then sprinkle immediately while it's still wet. I like to work in batches of eight or so and let them set on parchment paper for at least 15 minutes before assembly.
- Prepare Your Base:
- Place your foam cone on a serving platter you actually like, because everyone's going to be looking at it for the whole party. If you're using a tiered stand, do a quick dry run to see how the layers sit.
- Start Building from the Bottom:
- This is where patience matters—insert a toothpick through the side of a donut and push it gently into the foam cone, starting at the very bottom and working in overlapping circles upward. You'll find a rhythm, and before you know it, you're halfway done.
- Tuck in the Flowers:
- As you work your way up, slip edible flowers and fresh mint leaves into the gaps between donuts, turning the tower into something that looks like it bloomed overnight. Don't overthink placement; the beauty comes from the slight randomness.
- Fill the Empty Spaces:
- Stand back, squint at your creation, and fill any obvious gaps with extra flowers or a few more sprinkles. The goal is lush, not sparse.
- Chill or Serve:
- If you've got time, loosely cover the tower with plastic wrap and refrigerate for up to 4 hours—the glaze sets firmer and everything stays fresher. Otherwise, serve it as soon as the glaze has set.
 Save
Save The best part happened during dessert when one of the guests—a baker herself—asked how long the construction took, and I got to say "honestly, maybe 20 minutes of actual work." Seeing her relieved smile made me realize this tower does something special: it looks like love without requiring you to spend all day in the kitchen.
Flavor Combinations That Actually Work
The mini donuts are your canvas, so don't be shy about mixing flavors—I've done glazed with chocolate-filled, old-fashioned with powdered sugar coated, and even a few Boston cream thrown in for contrast. The variety keeps people reaching for another because there's always something different waiting. A friend suggested matching the glaze colors to the donut flavors (vanilla glaze for plain donuts, chocolate for the chocolate ones), and it does create a more intentional look if you're willing to put in the extra effort.
Why Edible Flowers Matter More Than You'd Think
When I first made this tower, I almost skipped the flowers and just relied on the glaze and sprinkles, but something made me stop and grab some violets from the grocery store's specialty section. That five-dollar decision transformed the whole thing from cute to genuinely stunning. The flowers catch light differently, they add an element of surprise when someone bites into them, and they signal to guests that this isn't just a stack of donuts—it's a celebration designed with care.
Timing and Storage That Keep Everything Fresh
I learned the hard way that assembling this the morning of works better than the day before—the glaze stays glossier, the flowers don't start to wilt, and the toothpicks slip in more easily. If you do need to make it ahead, that loose plastic wrap cover in the refrigerator buys you about 4 hours without things looking sad. One more thing: always check your foam cone for sturdiness before you start, because a wobbling tower is nobody's idea of elegant.
- Don't dip donuts in warm glaze or they'll absorb it and fall apart—room temperature glaze is your friend.
- If you're transporting the tower, secure it in a sturdy box and keep it level; the last thing anyone needs is donuts rolling around in their car.
- Have a few extra toothpicks on hand because you'll inevitably break at least one, and they're too cheap not to overprepare.
 Save
Save This tower has become my go-to for celebrations where you want to look like you spent hours but actually just spent an afternoon thinking creatively. It's the kind of dessert that makes people happy just looking at it, then makes them happy again when they taste it.
Cooking Q&A
- → What type of donuts work best for the tower?
Mini donuts in assorted flavors and glazes provide both visual appeal and variety in taste. Plain or glazed varieties are ideal for easy glazing and decoration.
- → Can I prepare the tower in advance?
Yes, you can assemble the tower and refrigerate it for up to four hours. Cover loosely with plastic wrap to maintain freshness while preserving the flowers’ appearance.
- → How do I ensure the flowers are safe to use?
Use only edible flowers that are pesticide-free and verified safe for consumption, such as violets, pansies, nasturtiums, and marigolds.
- → What alternatives can replace the foam cone?
A tiered cake stand can also be used to stack the mini donuts, offering a similar stacked effect without the need for skewers.
- → How do I make the glaze for the donuts?
Mix powdered sugar with milk or water and a touch of vanilla extract until smooth. Add pastel food coloring if desired for a colorful finish.