 Save
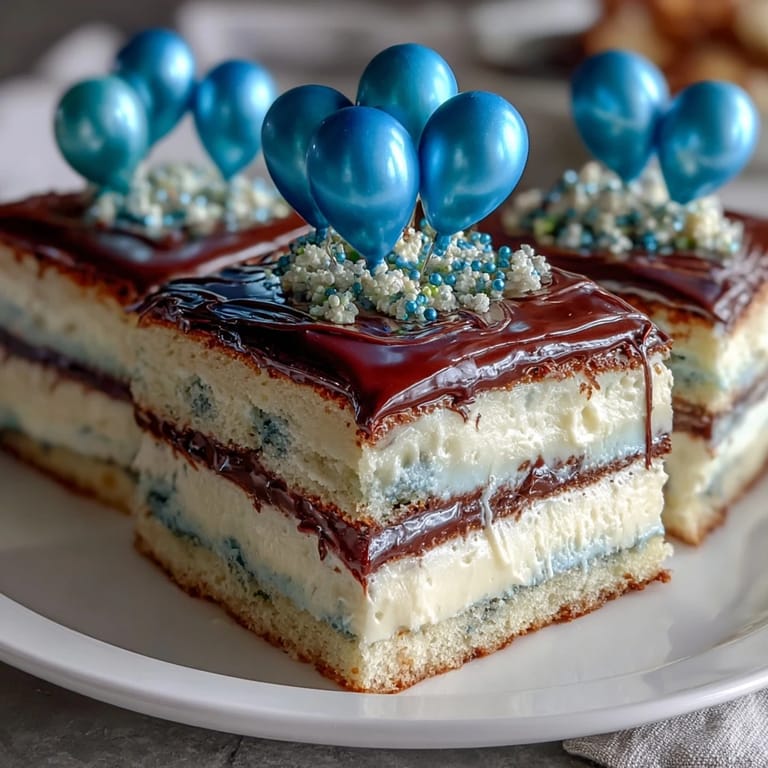
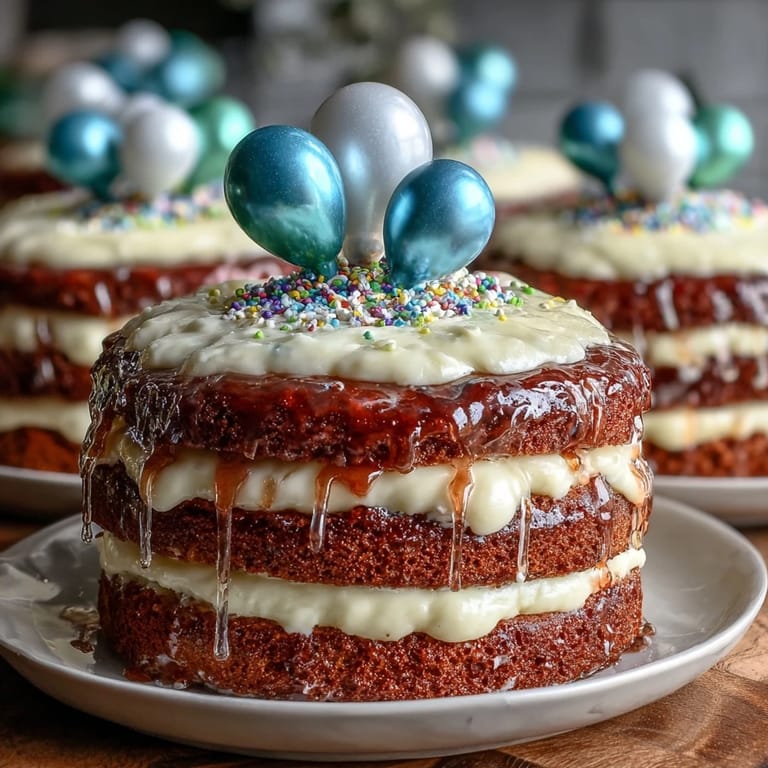
Save My cousin texted me three weeks before graduation asking if I could bake her a cake, and my first thought wasn't panic—it was remembering how she'd always sneak into the kitchen while I was baking, stealing tastes of buttercream straight from the bowl. This two-tier vanilla sponge with its cheerful balloon toppers felt like the perfect way to celebrate not just her achievement, but all those small moments we'd shared over the years. The elegance of the stacked tiers paired with the playfulness of the decorations seemed to capture exactly who she was—ambitious but never taking herself too seriously.
When I pulled those layers from the cooling racks, the kitchen smelled like vanilla and butter in the best way, and I found myself arranging them on the counter like I was setting a stage. My partner leaned against the doorframe watching me work, and somewhere between leveling the first cake and starting the buttercream, what had felt like a task became something I actually wanted to linger over. There's something grounding about building something in layers, knowing each one matters to the final result.
Ingredients
- All-purpose flour: Measure by spooning into your measuring cup and leveling off—scooping directly can pack too much flour and make your cake dense, which I learned the hard way.
- Baking powder: Make sure it's fresh; old leavening agents won't give you that light, airy crumb you're after.
- Granulated sugar: This dissolves into the batter, creating a tender structure, so don't swap it for other sugars without adjusting.
- Unsalted butter: Room temperature is non-negotiable—cold butter won't cream properly, and your cake will be gummy instead of fluffy.
- Large eggs: Also room temperature; they incorporate more smoothly and create better volume when beaten with the butter and sugar.
- Pure vanilla extract: The real stuff makes a noticeable difference in flavor compared to imitation, especially in a simple vanilla cake where it's the star.
- Whole milk: Brings moisture and tenderness; alternating it with the flour keeps the batter balanced and prevents overmixing.
- Unsalted butter for frosting: Use quality butter here too—you'll taste it, and it's what makes buttercream taste like butter and not shortening.
- Powdered sugar: Sifting removes lumps and makes the frosting silky smooth without extra mixing that could make it grainy.
- Gel food coloring: A tiny amount goes a long way and won't thin your frosting like liquid coloring does.
- Balloon cake toppers: These are your instant celebration—look for food-safe ones, or make your own with mini balloons and sturdy cake sticks.
Tired of Takeout? 🥡
Get 10 meals you can make faster than delivery arrives. Seriously.
One email. No spam. Unsubscribe anytime.
Instructions
- Set the stage:
- Preheat your oven to 350°F and get your pans ready—grease them well, then line with parchment so your layers release cleanly. Having everything prepped means you can focus on mixing without rushing.
- Build the dry mix:
- Whisk your flour, baking powder, and salt together in a medium bowl, breaking up any lumps as you go. This distributes the leavening evenly so your cakes rise uniformly.
- Cream butter and sugar:
- Beat them together for a solid 3 to 5 minutes until the mixture looks pale and fluffy—this aeration is what makes your cake tender and light. You'll notice the texture shift from grainy to smooth and pillowy.
- Add eggs thoughtfully:
- Drop in one egg at a time, beating well after each, so they emulsify properly and the batter stays smooth. Rushing this step can leave you with a broken, curdled mixture.
- Mix in vanilla:
- Add your extract now, beating just enough to incorporate, and you'll catch that first whiff of vanilla that makes your whole kitchen smell like celebration.
- Alternate wet and dry:
- This is the move that prevents overmixing—start with dry, add a splash of milk, then dry again, ending with flour. Low mixer speed and gentle folding at the end keeps the batter light and airy.
- Distribute batter carefully:
- Divide the batter evenly between your two 8-inch pans and two 6-inch pans, then tap them gently on the counter to release air bubbles. Even distribution means all your layers bake at the same rate.
- Bake with patience:
- The 8-inch layers need 35 to 40 minutes, the 6-inch ones 25 to 30—don't open the oven constantly or you'll lose heat and extend baking time. A toothpick inserted in the center should come out clean or with just a crumb or two.
- Cool strategically:
- Let cakes rest in their pans for 10 minutes—they're still delicate, and this waiting period helps them set before you turn them out. Then transfer them to wire racks, where air can circulate underneath so they don't steam themselves soggy.
- Whip the frosting:
- Start with room-temperature butter beaten until creamy, then gradually add sifted powdered sugar, alternating with milk a tablespoon at a time. This prevents lumps and keeps the frosting smooth and spreadable.
- Level and layer:
- If your cake tops are domed, slice them level with a serrated knife or a cake leveler so your layers sit flat and stable. Place your first 8-inch layer on a cake board, frost it generously, then crown it with the second layer.
- Crumb coat first:
- Apply a thin layer of frosting to seal in any crumbs, then chill for 20 minutes so your final frost looks pristine. This extra step transforms your cake from homemade-looking to polished.
- Final frosting:
- Apply your second coat of frosting smoothly with an offset spatula, working in gentle strokes and letting the turntable spin if you have one. Step back often to check your work—you want it smooth but not overly fussed.
- Stack with support:
- Center your 6-inch tier on top of the 8-inch one, using dowels or sturdy straws inserted vertically through the bottom layer to prevent the top from sinking. This is the secret to a stable, professional-looking two-tier cake.
- Crown with celebration:
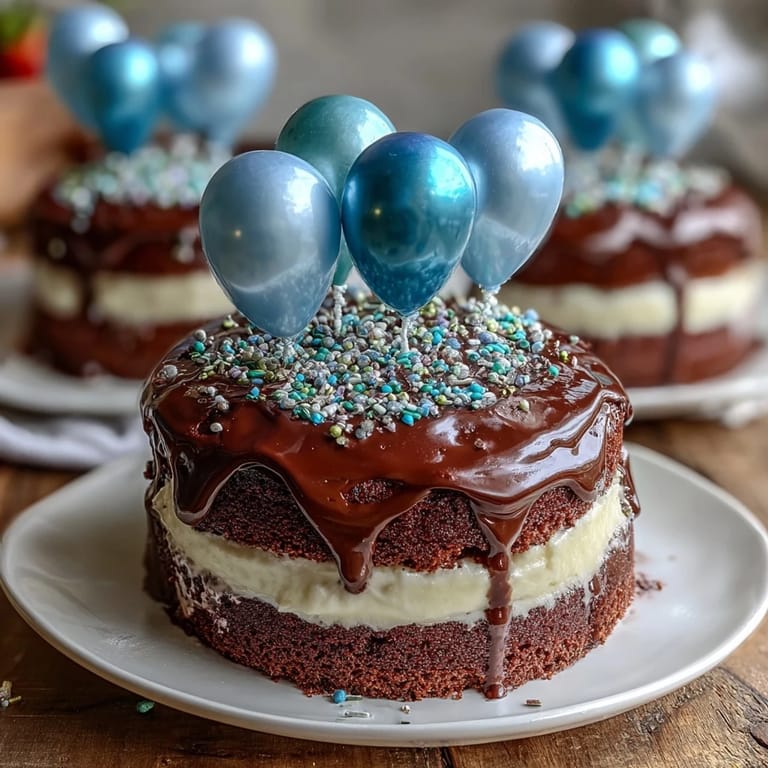
- Arrange your balloon toppers and scatter any edible confetti or sprinkles, and suddenly your cake tells a story of joy and accomplishment.
 Save
Save When I finally set those balloon toppers on the finished cake, my cousin walked into the kitchen and just stood there for a moment, and I realized this cake had become something more than dessert—it was a physical representation of pride and love and all the small celebrations that lead to big moments. Seeing her smile made every careful step, every bit of patience, absolutely worth it.
Flavor Variations That Feel Special
This vanilla base is beautifully forgiving—add a teaspoon of almond extract to the batter for subtle nuttiness, or a tablespoon of fresh lemon zest if you want brightness and complexity. I've also swapped half the vanilla extract for white almond extract, which adds depth without making the flavor immediately obvious, just richer somehow. The buttercream accepts food coloring in any shade you can imagine, so lean into your graduate's school colors or their personal favorites—I once made it in soft sage green, and it felt like the cake itself was offering congratulations.
Timing and Make-Ahead Magic
This is a cake that rewards you for planning ahead—bake the layers a day or two before assembly and store them in airtight containers at room temperature, and they'll actually be easier to frost because they're settled and stable. Buttercream keeps beautifully in the fridge for up to a week, so you can make it days in advance and just let it come to room temperature and give it a quick beat before using. The assembled cake sits happily, covered loosely, for 24 hours before serving, which means you can deliver it the day of without the stress of last-minute decorating.
The Details That Elevate Everything
What transforms this cake from nice to memorable is taking time with the details—a perfectly level top, smooth frosting, and balloon toppers that feel intentional rather than tossed on. The turntable is genuinely helpful if you have one, but a rotating cake stand from the dollar store or even a lazy Susan works just fine. When you're frosting, let yourself go slowly and enjoy the meditative quality of smoothing and spinning; rushing this part shows, and slowing down actually makes the whole process more pleasant.
- Keep your offset spatula warm by dipping it in hot water and wiping it dry between strokes for impossibly smooth frosting.
- If your frosting is too soft, chill it for 15 minutes; if it's too stiff, add a splash of milk and beat gently until it's spreadable again.
- Edible confetti or fresh flowers tucked between the layers add surprise and visual interest without requiring advanced decorating skills.
 Save
Save This cake is your canvas for celebrating someone special, and honestly, the love you put into building it layer by layer is what everyone tastes. Make it with presence, enjoy the process, and let your graduate know that their achievement is worth this kind of care.
Cooking Q&A
- → How do I ensure the vanilla sponge stays moist?
Use room temperature butter and eggs, avoid overmixing the batter, and bake until a toothpick comes out clean to keep the sponge tender and moist.
- → Can I prepare the cake layers in advance?
Yes, bake the layers ahead, cool completely, then wrap and refrigerate. Allow them to come to room temperature before frosting to ensure smooth application.
- → What is the best way to stack the two tiers securely?
Use cake dowels or sturdy straws inserted into the bottom tier to support the upper tier and prevent shifting during display or transport.
- → How can I customize the balloon toppers?
You can purchase ready-made balloon toppers or craft your own using food-safe sticks and mini balloons, matching colors to your theme.
- → Is the buttercream suitable for coloring?
Yes, gel food coloring can be added gradually to the buttercream for vibrant hues without altering texture.