 Save
Save There's something magic about standing in front of the microwave at 10 PM with an absurd craving that needs solving in minutes, not hours. That's when I discovered this mug cake, and honestly, it's become my favorite kind of indulgence—the one that doesn't require planning or willpower to resist. The first time I made it, I was skeptical that crushing Oreos in a mug could become actual cake, but the moment I pulled it out steaming and took a bite, I understood why this became a late-night ritual. It's the kind of dessert that feels like cheating but tastes like it took real effort.
My roommate walked into the kitchen one evening right as I was pulling this mug from the microwave, and the aroma of warm chocolate hit her before she even saw what I was doing. She was convinced I'd snuck in some elaborate dessert, then watched in disbelief as I ate it straight from the mug like a bowl of soup. She made one the next night, and now we're both that household that has Oreos stocked specifically for these moments. It became our inside joke—the fancy dessert nobody believes you made yourself.
Ingredients
- Oreo cookies (4): The star of the show, these give you chocolate cake flavor and structure all at once, so you're not starting from scratch with cocoa powder and other dry ingredients.
- Milk (3 tablespoons): This creates the paste that holds everything together and keeps the cake moist, not dry—don't skimp here.
- All-purpose flour (2 tablespoons): Just enough to give it body and cake-like texture without making it dense.
- Granulated sugar (1 tablespoon, optional): Oreos are already sweet, so taste as you go and add only if you want extra richness.
- Baking powder (1/4 teaspoon): This tiny amount creates lift and keeps it from feeling like a brick in your mouth.
- Egg (1 small): Acts as the binder and adds moisture that makes this taste like real cake instead of a cookie scramble.
- Vanilla extract (1/2 teaspoon, optional): A secret note that rounds out the chocolate and makes it taste more sophisticated than it is.
Tired of Takeout? 🥡
Get 10 meals you can make faster than delivery arrives. Seriously.
One email. No spam. Unsubscribe anytime.
Instructions
- Crush and Build:
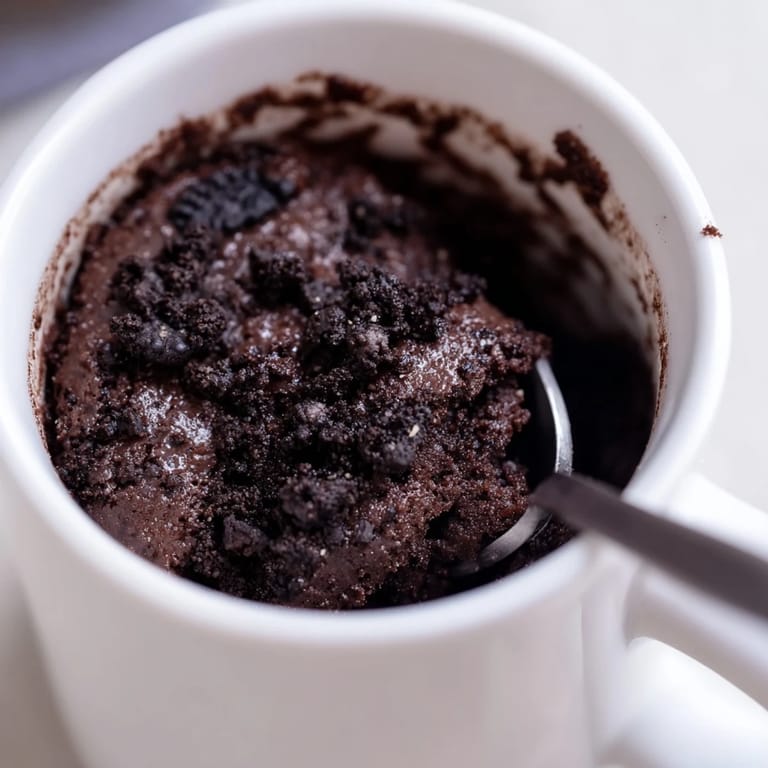
- Place your Oreos in a microwave-safe mug and crush them with a fork until mostly fine crumbs with just a few larger chunks scattered through, then add the milk and stir until it looks like wet cookie dough. This paste is your foundation, so don't rush it.
- Mix in the Structure:
- Sprinkle the flour, sugar if using it, and baking powder over the wet mixture, then stir until there are no dry pockets hiding at the bottom of the mug. You want everything evenly combined so every bite has the same texture.
- Make It a Real Cake:
- Crack your egg right into the mug and add the vanilla, then mix until the batter looks smooth and uniform, like brownie batter rather than cookie paste. This is when it stops feeling like a snack hack and starts feeling like actual dessert.
- The Microwave Moment:
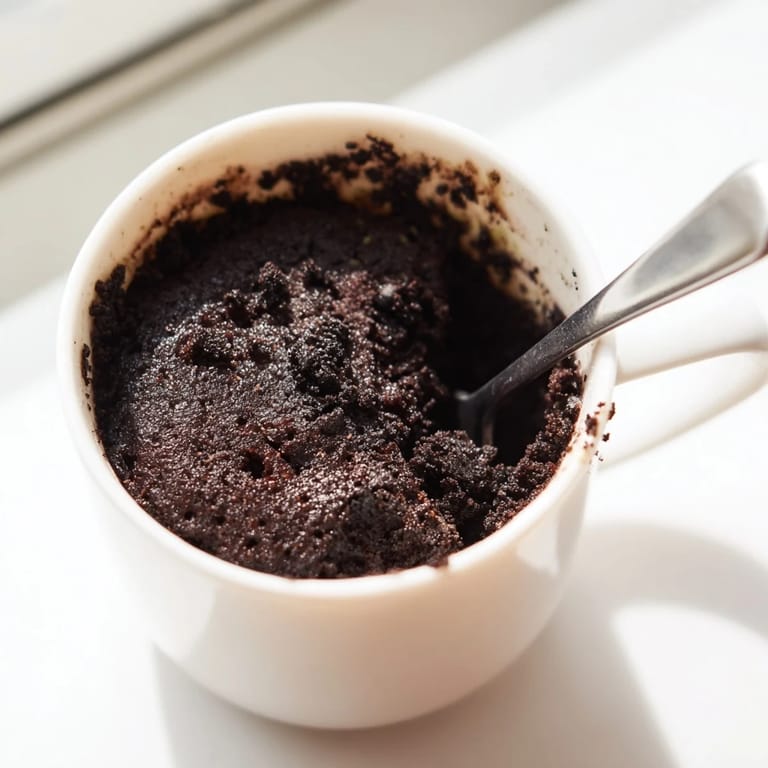
- Pop it into the microwave on high for 1 minute 30 seconds, and listen for the slight hiss and bubble sounds that mean it's rising. The top should look set but still have a tiny bit of jiggle in the center when you pull it out.
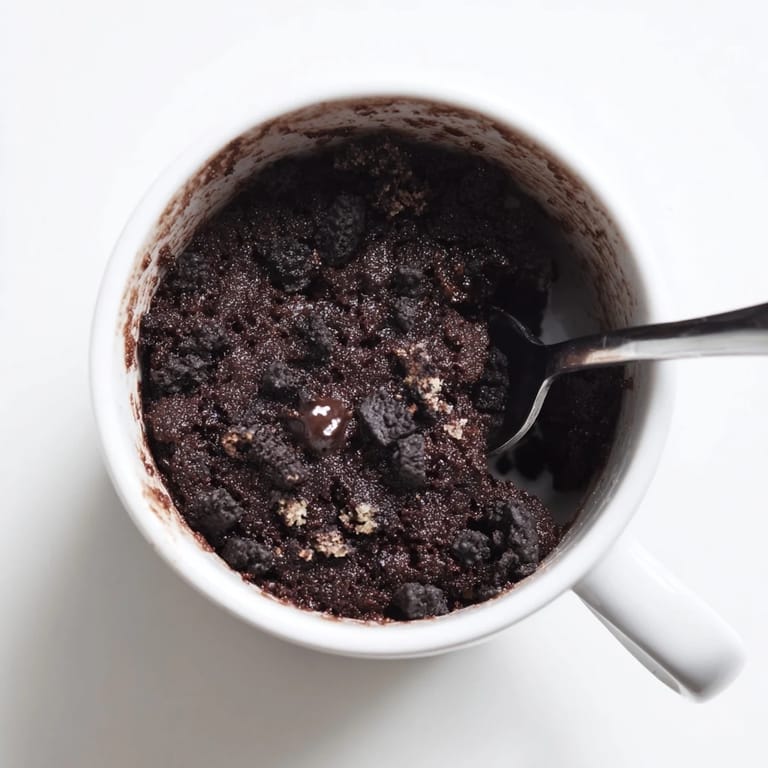
- Cool and Enjoy:
- Let it sit for just 1–2 minutes so it's warm instead of lava-hot, then dig in with a spoon right from the mug. This is where the magic happens—that moment between steaming hot and perfectly warm cake.
 Save
Save The best moment was when I made this for a friend who claimed they couldn't cook anything, and I handed them the mug to make their own. Watching their face when they pulled it out of the microwave and realized they'd just created actual cake in under 5 minutes—that's when I knew this recipe was something special. It's not just fast food; it's a tiny victory you can hold in both hands and eat warm.
Why This Works So Fast
The genius here is that Oreos already contain everything a chocolate cake needs: cocoa, sugar, and structure in cookie form. You're not baking from separate dry ingredients that need sifting and measuring; you're repurposing what's already balanced and delicious. The microwave does the work in seconds instead of a traditional oven's half hour, so the whole thing feels less like baking and more like assembly. It's proof that some of the best desserts come from being lazy in exactly the right way.
Customization That Actually Works
The beauty of this mug cake is that it's a blank canvas for whatever you have in your kitchen at that exact moment. Some nights I top mine with a dollop of whipped cream; other times I've crushed extra Oreos on top before serving, or let a spoonful of peanut butter melt into the warm cake. Vanilla ice cream is the classic move, but I've also drizzled honey or chocolate syrup over the top and created something even more indulgent. The cake itself is forgiving enough to handle almost any topping you dream up without falling apart.
The Right Mug Makes All the Difference
This sounds silly, but I learned the hard way that your choice of mug actually matters. A mug that's too narrow means the batter rises unevenly and sticks to the sides, while one that's too wide and shallow makes a thin cake that cooks too fast. A standard coffee mug, about 8–10 ounces and wider than it is tall, gives you the sweet spot for even cooking and a cake that's thick and satisfying. I also discovered that older ceramic mugs that have been through the dishwasher a hundred times heat more evenly than brand-new ones, so pull out whatever mug you've been using forever.
- Always use a microwave-safe mug—some glazes crack under microwave heat, so check the bottom to confirm yours is safe.
- If you don't have a small egg, beat a regular egg and use about 2 tablespoons of it, or the cake will be too wet.
- Let your mug cool before making a second one; a hot mug will start cooking the batter too fast.
 Save
Save This little mug of cake has become more than dessert in my kitchen—it's become a permission slip to say yes to cravings without guilt. No planning, no fancy equipment, just a moment of warmth and chocolate whenever you need it.
Cooking Q&A
- → How do I crush the Oreos for this dessert?
Place the Oreo cookies directly in a microwave-safe mug and use a fork to crush them finely until they form crumbs.
- → Can I substitute ingredients in this chocolatey treat?
Yes, self-raising flour can replace flour and baking powder for a fluffier texture. Sugar amounts can be adjusted to taste.
- → What toppings complement this chocolate mug dessert?
Whipped cream, chocolate chips, or vanilla ice cream enhance the richness and add texture contrasts.
- → How long should I microwave the mixture?
Start with 1 minute 30 seconds on high, then check. If needed, microwave an additional 10-20 seconds until set but moist.
- → Is this treat suitable for a vegetarian diet?
Yes, it contains eggs and dairy but no meat, fitting vegetarian preferences.