 Save
Save There was an unmistakably electric smell in the kitchen as I first experimented with making fermented hot sauce—equal parts fear and exhilaration dancing with each whiff. The fresh peppers practically glared at me from the cutting board, daring me to tame their fire. What started as a spontaneous dare (Can it really be that simple to ferment at home?) turned into a tangy obsession that lingered on my fingertips for days. I still laugh remembering how the entire apartment started humming with the secret anticipation of spice as the days ticked by.
I shared this bubbling science project with my roommate, whose skeptical eyebrow arched every time I checked the ferment. By day five, she was the first to insist we taste test, hovering over the blender with chips in hand. Both of us blinked at the explosive sour heat, high-fiving over our accidental kitchen triumph.
Ingredients
- Fresh red chili peppers: Choose whatever’s vibrant and available (Fresno, jalapeño, serrano, or a mix)—the right combo lets you play with both color and intensity.
- Red bell pepper: Adds mellow sweetness and helps balance aggressive heat; don’t skip unless you like it really fierce.
- Garlic cloves: The secret backbone of the sauce; slice or smash for deeper, rounder flavor during fermentation.
- Shallot or onion: Both offer subtle sweetness—I've learned half a small onion works in a pinch.
- Carrot (optional): For those who prefer a gentler, rounder sauce, a carrot adds body and a quiet sweetness.
- Filtered water: Only filtered (never tap) to keep wild microbes happy and encourage proper fermentation.
- Non-iodized salt: Sea salt or kosher protects the ferment—avoid iodized, which can inhibit the process.
- Apple cider vinegar or distilled white vinegar: Rounds out sharpness and gives the hot sauce its punchy acidity.
Tired of Takeout? 🥡
Get 10 meals you can make faster than delivery arrives. Seriously.
One email. No spam. Unsubscribe anytime.
Instructions
- Mix the brine:
- Stir salt into filtered water until completely dissolved; listen for gentle fizz as a sign everything’s right.
- Prep your vegetables:
- Rough chop the peppers, bell pepper, garlic, shallot or onion, and carrot, taking in the riot of colors and the sharp tang in the air.
- Pack the jar:
- Layer all the veggies into a clean glass jar—pressing them down so they’re snug but not crammed.
- Add the brine:
- Pour brine to submerge everything; use a fermentation weight or a brine-filled zip-top bag to keep the mix completely covered.
- Cover and ferment:
- Loosely screw on the lid or attach your airlock—your jar gets a vacation in a dark, cool corner for the week.
- Tend your ferment:
- Check daily: watch for bubbling, nudge stray veggies under, and skim any harmless scum or mold that tries to gatecrash.
- Blend & finish:
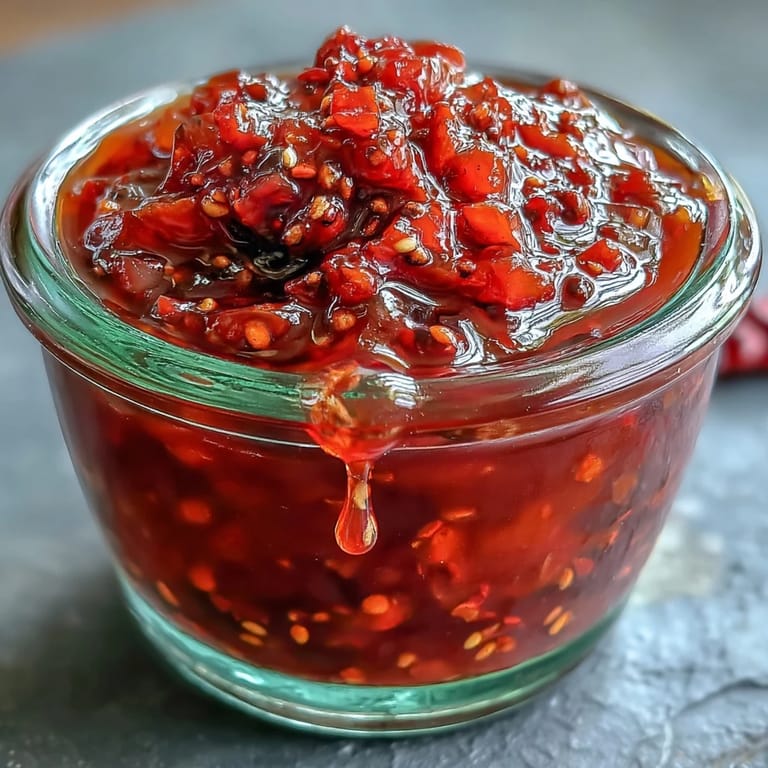
- After 7 days, dump the lot (including brine) in a blender, add vinegar, and blend until silky; adjust thickness to taste with extra brine or vinegar.
- Strain or don't:
- For café-smooth sauce, strain through a fine sieve; for a rustic vibe, leave it as is and embrace the bits.
- Bottle and store:
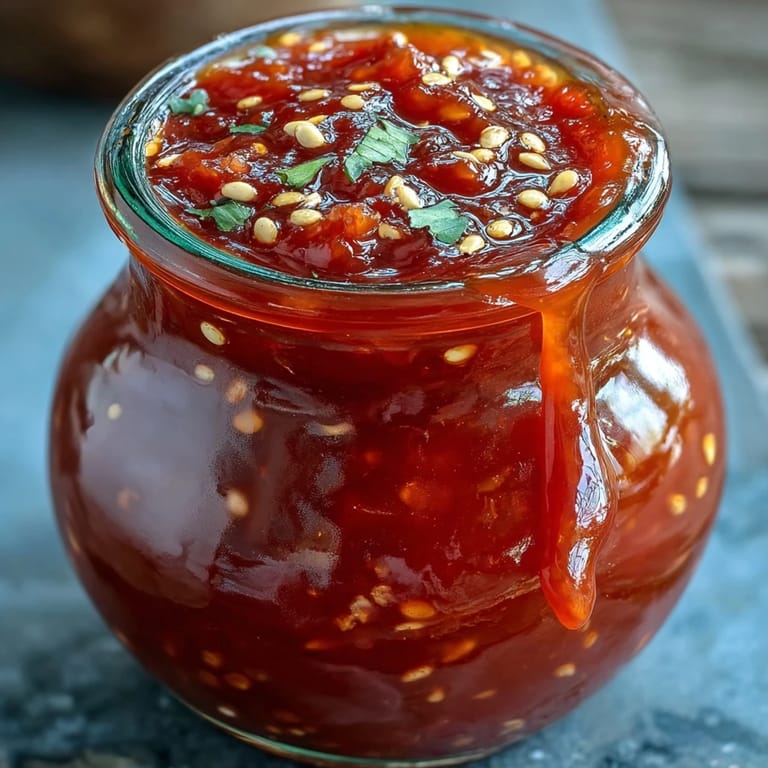
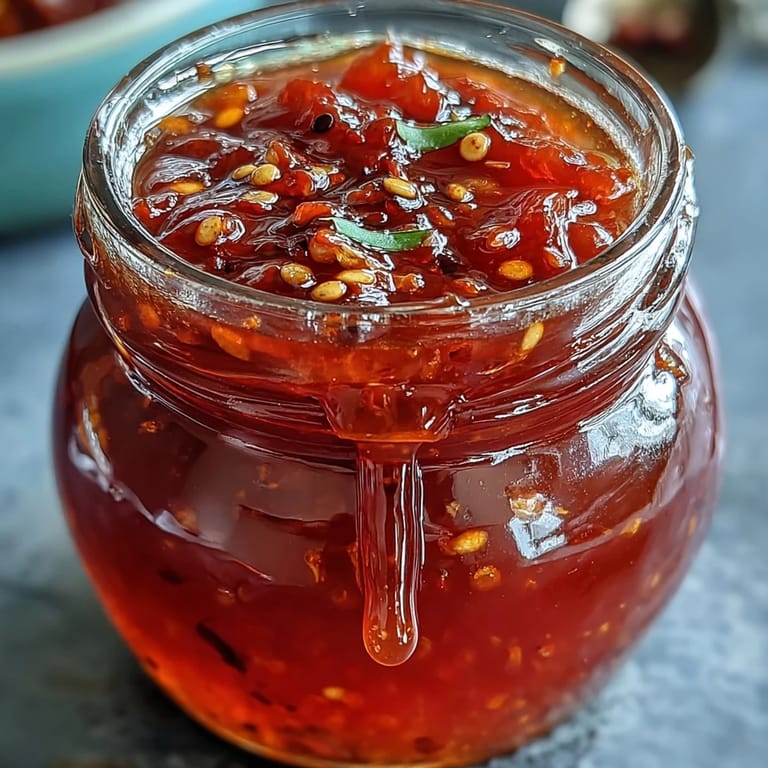
- Funnel into a sterilized bottle or jar—this fiery elixir keeps best in the fridge, mellowing and deepening over the months.
 Save
Save This hot sauce ended up at my friend's barbecue—served out of a mismatched bottle, it disappeared faster than the grilled corn. The compliments nearly made me blush, especially when someone asked where I'd bought it.
Finding Your Heat Balance
Tweaking the pepper blend each time means you can control the firepower—one time I underestimated a single stray habanero, and the results brought tears (literal and otherwise) to our eyes. There’s fun in experimenting, so don’t be afraid to start mild and work your way up with each new batch.
Making Fermentation Foolproof
The key is keeping everything submerged under brine—invest in a solid fermentation weight or improvise with a sanitized bag of water if you need to. If any veggie pops up above the surface, just poke it back down with a clean utensil.
Storing and Serving Ideas
The flavor keeps evolving in your fridge, growing more complex over weeks. Drizzle over eggs, perk up soups, or let it steal the show on pizza—there are infinite ways to enjoy your homemade creation.
- Always shake before serving to blend any separated layers.
- Label the jar with the date so you remember how long it’s been fermenting or mellowing.
- Don’t be shy about gifting a bottle—homemade hot sauce always impresses.
 Save
Save May your kitchen always smell this lively, and may your hot sauce never run out. There’s nothing quite like adding your own fire to a meal.
Cooking Q&A
- → How salty should the brine be?
Use about 1 tablespoon (15 g) of non-iodized salt per 500 ml (2 cups) of filtered water. That ratio supports lacto-fermentation while keeping the vegetables crisp and flavorful.
- → Can I change the heat level?
Yes. Mix milder peppers like Fresno or red bell with a few spicier ones (serrano, habanero, Thai) to dial the heat. Remove seeds for less bite or add extra hot chilies for more intensity.
- → Is surface mold dangerous and how to handle it?
White kahm yeast or light scum can appear; skim it off carefully. Discard the batch only if you see fuzzy, colored mold or an unpleasant rotten smell. Cleanliness and keeping vegetables submerged reduce issues.
- → Should I strain the sauce?
Straining through a fine-mesh sieve yields a smooth pourable sauce, while leaving it unstrained preserves texture and body. Choose based on desired mouthfeel.
- → How long does the sauce keep?
Refrigerated in a sterilized bottle the sauce will keep well for up to three months. Flavors will continue to mellow and develop over time.
- → Can I add spices to the brine?
Yes—whole peppercorns, coriander seeds, or bay leaf add complexity during fermentation. Add spices sparingly to avoid overpowering the fresh chili character.
- → What if I want a thinner consistency?
Blend with extra fermentation brine, a splash of vinegar, or filtered water until you reach the desired pourability. Adjust seasoning after thinning.